Installing Pop!_OS on an unsupported 32-bit UEFI hardware
I've been using Linux Mint for quite a while (like past 4 years) and wanted some change. Pop!_OS seemed another good Ubuntu-based distro so I decided to try it out. However, there is a problem. Since the hardware I use is 32-bit only UEFI without legacy BIOS. Pop!_OS on the otherhand ships ISOs for use only with 64-bit UEFIs and legacy BIOS (but disregards support for 32-bit UEFI and that's bad since my hardware is 32-bit UEFI only). My laptop is CanvasLapbookL1160, one in baytrail series (Intel(R) Atom(TM) CPU Z3735F @ 1.33GHz). It initially came with Windows 10 without any apparent issues at all, but it ran slow and was, well, Windows. Micromax probably had modified Windows in a way such that it detected all hardware peripherals correctly. Since, I had same issues (as I mention later) even if I manually re-installed Windows 10, as I did with Linux distros.
Here's how the machine looks like
I don't really blame the developers for not supporting 32-bit UEFI. This is not just the case with Pop!_OS but with pretty much almost all major distributions out there. I read somewhere that Fedora did support such machines back in 2018, although I'm not sure of what the current status is. 32-bit UEFI machines are pretty rare in 2020 and I understand that supporting such a minority of users is not worth the developer time spent, atleast as of now. The situation was probably different a few years back. The more we wait to support these devices, the lesser sense it makes to support these devices.
With what I write here, I expect to document how to get stuff working on such machines in the hope that this would atleast be useful to my future-self and people who are a bit familiar with how Linux works. Move on by assuming that there will sometimes be hardware peripherals that will fail to be recognized properly (such as WiFi, sound output) and random irrecoverable freezes. I suffer from both these without a solution as of yet. I also happen to be hit by some other unexplained stuff as I'll mention later. Anyway, since I'm writing all of this from memory, expect some very specific details to lack in precision.
Linux Mint (2 years ago)
Two years back when I installed Linux Mint 19 on this same hardware, the situation wasn't
as bad as it is now. You'd use dd or cat from coreutils or specialized tools such as
Rufus or UNetbootin to write the ISO image on to a USB device. When trying to boot this USB
device on a 32-bit UEFI machine you'd notice that it won't even show up as a boot device.
At this point, the first response would be to put a bootia32.efi in /efi/boot/ on your
EFI partition on your USB stick. However, if you wrote the ISO image on the USB in dd-mode
(as termed in Rufus) (that is using dd or cat or dd-mode in Rufus) you now won't be
able to add or remove files from your USB stick since the USB stick would be stuck in
read-only mode. I haven't come across a way to make it writable again except completely
formatting it in such a case.
UEFI firmware looks for all FAT formatted partitions and attempts to look for boot files
stored in /EFI/boot under these partitions. Now what cat, dd and Rufus do is to create
one FAT32 partition for UEFI boot and another one as ext4 for core image files. This is
because of the way how it is actually defined in most distro ISOs. I've found an easier way to
keep the disk writable and avoid such utilities is to create a single FAT32 partition
consisting of both the boot and core image files.
So let's only maintain a single partition making things a little easier. I'd first locally mount
the ISO image and then simply copy-paste the mounted files on to a USB stick which has been
first formatted as FAT32.
The USB stick will still be writable at this point and you can now copy bootia32.efi to
/EFI/boot/ as previously mentioned. With this I was successfully be able to boot into live
Linux Mint from my USB stick. At this point, one should notice all the hardware stuff that
fails to be recognized. Some things to think of: whether battery percentage reduces when not
plugged-in? If charger plugged-in display indicator shows correctly? WiFi works? Brightness
controls? Sound output from speakers and 3.5mm jack? Is trackpad being detected as an external
mouse (that means no two-finger scrolling and "disable mouse when typing" does not work)? Does
deep-sleep work? If you're hitting some of these issues, I've mostly had more luck with
learning to live with them than looking for solutions on the Internet.
It might be possible to write a custom driver or a kernel module to fix an issue but that's beyond me. In any case, you'd normally select the partition where you want to install Linux Mint and make sure that you create and EFI partition with ~200MB if it doesn't already exist, and next, next. Everything would go fine until at the end of the installation it mentions that it failed to install a boot loader. You could now reboot and see that our newly installed Linux Mint isn't available in the boot menu! I know of two ways to fix this from here:
Method 1
You'd reboot your machine when the failure message pops up. Now you'd again select your
bootable USB drive, but this time go to advanced options and it should mention something
about accessing the GRUB command-line by pressing c key on the keyboard. Do that and it
will drop us to a shell. Here we'll attempt to manually load the kernel image and the initial
RAM disk. The first step is to recognize the drive and partition where you installed Linux
Mint to. This can be done by using ls:
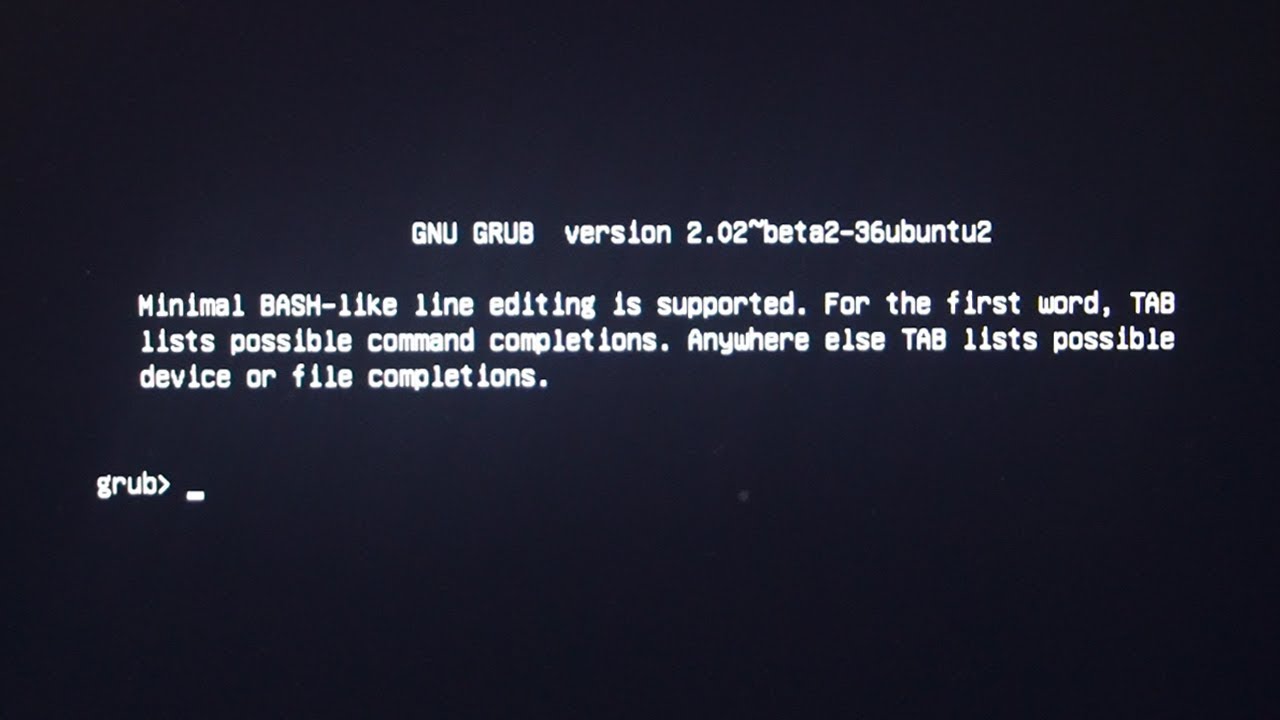
The GRUB command-line
$ ls (hd0)/
# Is this what I need? Nope.
$ ls (hd0,gpt1)/
# Is this what I need? Yup!
Once you've recognized your drive and partition, note its UUID by running ls -l:
$ ls -l (hd0,gpt1)/
# <stuff> UUID 46868037-2224-4887-adfe-d1db9fe93366 <stuff>
The UUID is the the alphanumeric characters such as in the above case, the UUID is:
46868037-2224-4887-adfe-d1db9fe93366. Sometimes ls might not accept the -l parameter.
In such a case, omit root=UUID=6868037-2224-4887-adfe-d1db9fe93366 from the below command.
Now, we load the kernel image with:
$ linux (hd0,gpt1)/boot/vmlinuz.efi root=UUID=6868037-2224-4887-adfe-d1db9fe93366
replace the above alphanumerics with your obtained UUID.
Now load the initial RAM disk:
$ initrd /(hd0,gpt1)/boot/initrd.gz
The filenames may not exactly be vmlinuz.efi or initrd.gz but should closely resemble
them. So, try loading whatever seems the closest filename to you.
Now do
$ boot
If your ls didn't support -l option and you omitted the UUID, the kernel will fail
to load and will drop you into a busybox shell which can now be used to read the all the
connected devices UUIDs by running:
$ ls -l /dev/disk/by-uuid/
If still not sure here what device and partition you installed Linux Mint, try mkdir
and mount the device files from /dev/sdXY on to this directory and then ls. Either
way you should now have the correct UUID. Click a picture of it or note it down and
repeat the above mentioned steps but now by entering the UUID when loading the kernel
image.
It would now successfully boot into the installed Linux Mint and now we fix the boot menu so it shows up in the boot menu.
$ sudo apt install grub-efi-ia32-bin
Check which partition on your hard drive is your EFI partition. I'd assume /dev/sda2
here:
$ mkdir /boot/EFI
$ sudo mount /dev/sda2 /boot/EFI
$ sudo grub-install /dev/sda2 --efi-directory=/boot/EFI
Update the menus:
$ sudo update-grub
If you get the command-not-found error on update-grub, run this instead:
$ grub-mkconfig -o /boot/grub/grub.cfg
Everything should be fixed now. Reboot and check your boot menu.
This is a guide that was immensly helpful to me back when I was new to this stuff and installing Linux Mint, so you should notice some similarities above and in the mentioned guide.
Method 2
That was the first way, but in such a case today I'll probably use this method.
The second way of fixing this boot menu is via chroot.
When Linux Mint errors on saying that the bootloader failed to install. Do not reboot.
Or if you did reboot, boot back into the live USB again. Now open a terminal and
check where the new Linux Mint got installed. I'd assume in /dev/sda3. Do this:
$ sudo mount /dev/sda3 /mnt
$ sudo mount --bind /dev/ /mnt/dev
$ sudo mount --bind /sys /mnt/sys
$ sudo mount --bind /proc /mnt/proc
$ sudo chroot /mnt
Now you run the commands mentioned in the 1st method starting from the apt install grub-efi-ia32-bin
part in the chroot jail. Ok, should be fixed after that's done. Reboot and check.
At this point, I'd be able to normally boot into my installed Linux Mint. However, you'd see those hardware peripherals that didn't work in the live boot don't work here either. That's expected. However, my hardware has yet another problem. If I upgrade my kernel version to 4.17 or anything later (I've randomly tried versions upto 5.6), my input devices such as keyboard and mouse won't be detected, and the USB ports aren't supplied power. The last kernel version that atleast allows me to keep the machine usable is 4.16.18. However, I still face other issues with 4.16.18 and lower versions of kernel. These issues include - trackpad offers no 2-finger scroll or middle click capability. It simply works as a 2-button mouse. Battery is always stuck at 50% and shows no plugged-in indicator. There were other things as I've mentioned in here.
Okay, that's for the Linux Mint part from 2 years ago.
Pop!_OS
I was able to successfully get Pop!_OS 19.10 working. Although, the kernel still suffers from the
same issues I mentioned in the last paragraph. Getting Pop!_OS to work was harder in comparision
to Linux Mint. I'd normally download the ISO and copy the files on my USB stick on a FAT32
formatted partition. I've noticed that Pop!_OS contains some core image files that symlink to
other directories in the image and FAT systems doesn't support symlinks. So, in such a case
I'd create a complete copy of the file/directory and replace that by its corresponding symlink.
Done that. Now it doesn't show up in the boot menu? Ok, put in a bootia32.efi. However,
simply doing this didn't succeed this time, it kept getting stuck somewhere along doing casper-prefetch
while loading the kernel and would then drop me into a busybox shell, as I could see on my screen.
This USB did boot up on other my other machine with a 64-bit UEFI. So on such a machine, I checked
the default kernel version that Pop!_OS comes with using:
$ uname -r
when live booting the USB on a 64-bit UEFI. It was 5.3. This was higher than the maximum kernel version my 32-bit UEFI hardware is known to work with (4.16.18).
I guessed that the reason it failed to boot on my 32-bit UEFI hardware was simply the
unsupported kernel version having a hard time determining stuff on my machine. I tried to get an
older version of kernel up with Pop!_OS. So going with that, I attempted to replace vmlinuz (the kernel image) and
initrd (initial RAM disk) files that come by default in Pop!_OS's ISO, with their older versions respectively
from the installed Linux Mint (/boot/vmlinuz and /boot/initrd) which is currently living in my hard disk
(the one I talked about in the previous section). Although I don't remember what error it came up
with after the replacement when the kernel was being initialized, only that it didn't work. I thought
perhaps there is a difference between these files in a live USB and the ones from a fully-installed
Linux. So, I attempted to replace the kernel image and initial RAM disk image again, but this
time from a Linux Mint 19 ISO image which by default comes with a kernel version < 4.17, that means the
kernel from such an ISO image would work with my hardware. A good friend of mine had a Linux Mint 19 ISO image
laying around. so I asked him to send me the needed vmlinuz and initrd files from his ISO. I
replaced them with what came with Pop!_OS and attempted to boot again. It still didn't work.
I had another idea. I had an extra USB stick and I live booted Pop!_OS on a 64-bit UEFI and
installed it on to this extra USB stick. Make sure the partition size you create for the full-usb
installation is smaller than the space you wish to allocate when in future you install it onto
your actual hard drive parition (this will be useful later in the post). The installation was a
success on this 64-bit UEFI machine. I wanted to be convinced whether it was the kernel version
issue that caused failure to boot on my 32-bit UEFI. I plugged the USB with fully-installed
Pop!_OS which I just made (not the one with live!) into my 32-bit UEFI machine. I already had
Linux Mint installed on the machine, so I went into the GRUB command-line by pressing c key
while on the advanced boot options. I determined the UUID of the USB stick which contained the
full-install of Pop!_OS using ls -l on the available disks. Next, I loaded the kernel and initial
RAM disk from my Linux Mint and set the root partition pointing towards my fully-installed Pop!_OS
USB. If everything went fine I'd be using the kernel version from my Linux Mint but the root partition
would be set to Pop!_OS meaning that I would essentially be running Pop!_OS with my
hardware-supported kernel. I did this in GRUB command-line: (Assume (hd0,gpt3) to be my Linux Mint
installation partition. Also replace the UUID below with what you got from ls -l above)
$ linux (hd0,gpt3)/boot/vmlinuz root=UUID=5839037-2264-4487-adfe-d1cb9fe93366
$ initrd (hd0,gpt3)/boot/initrd
$ boot
And it worked! I was now in my USB with full-install of Pop!_OS running an older kernel version! WiFi and sound didn't work here since I believe the kernel was attempting to load modules from Pop!_OS's partition and there were none present for this kernel version in there. So, I booted back into my Linux Mint and chrooted into Pop!_OS's full-installed USB stick. The kernel version I wanted wasn't available in default apt repositories so I downloaded the necessary packages myself which were:
linux-headers-4.16.18-041618_4.16.18-041618.201806252030_all.deb
linux-headers-4.16.18-041618-generic_4.16.18-041618.201806252030_amd64.deb
linux-image-unsigned-4.16.18-041618-generic_4.16.18-041618.201806252030_amd64.deb
linux-modules-4.16.18-041618-generic_4.16.18-041618.201806252030_amd64.deb
and installed all these packages with dpkg -i onto my chrooted Pop!_OS.
Next to see if this older kernel did install as expected I rebooted and went into GRUB
command-line: ((hd1,gpt2) is my fully-installed Pop!_OS USB stick and the one I chrooted into
in previous step)
$ linux (hd1,gpt2)/boot/vmlinuz-4.16.18 root=UUID=5839037-2264-4487-adfe-d1cb9fe93366
$ initrd (hd1,gpt2)/boot/initrd.4.16.18
$ boot
Ok, boot was successful. WiFi and sound is working too! With all this, I think I was right in guessing that it was the newer kernel version that came by default with Pop!_OS that my hardware couldn't handle it. Either way, I still had to get Pop!_OS installed onto my main hard disk. The problem was still that I couldn't get the live USB to boot on my 32-bit UEFI machine even if I replaced the kernel image and initial RAM disk image.
However, we don't need to do that now! I believed that now I could simply dd or cat the
fully-installed Pop!_OS partition from my USB stick onto my hard disk's partition, and then fix
up my boot menus. This should act similar to the way as if I installed Pop!_OS onto my hard
disk from a live USB. So, I booted into Mint backed up anything I needed. Backups done, I then
took another USB stick (the third one) and wrote an image from the full-usb installed to this
third USB stick:
(/dev/sdb2 is your fully-installed USB)
$ cat /dev/sdb2 > /media/ritiek/3rd_usb_stick/full_install.img
Now then I booted into my fully-installed Pop!_OS USB and wrote this image onto my Linux Mint
partition. I wanted to replace Linux Mint with Pop!_OS so I chose the same partition, you choose
a different one if you wish to keep Mint:
(/dev/sda3 is my hard disk partition I want to write Pop!_OS over to)
$ cat /media/ritiek/3rd_usb_stick/full_install.img > /dev/sda3
This should kill my Mint installation and replace it with Pop!_OS. Now we need to fix up the
boot menu so this Pop!_OS shows up in the boot menu. Do not reboot and instead first chroot
into hard disk partition where you wrote the image:
(/dev/sda2 here is my hard disk's EFI partition)
$ sudo mount /dev/sda3 /mnt
$ sudo mount --bind /dev/ /mnt/dev
$ sudo mount --bind /sys /mnt/sys
$ sudo mount --bind /proc /mnt/proc
$ sudo chroot /mnt
$ mkdir /boot/EFI
$ sudo mount /dev/sda2 /boot/EFI
$ sudo grub-install /dev/sda2 --efi-directory=/boot/EFI
Update the menus:
$ sudo update-grub
If you get the command-not-found error on update-grub, run this instead:
$ grub-mkconfig -o /boot/grub/grub.cfg
That is all! You should now be able to reboot, disconnect all attached USB sticks and Pop!_OS should show up in your hard disk's boot menu! Try booting it! Although I still face the same aftermath issues as I did in Linux Mint.
Update: I was able to atleast fix my freezing issue from here https://askubuntu.com/a/796484/694881.
This seems to be an issue in lower kernel versions. Like the linked answer mentions, I had to
append intel_idle.max_cstate=1 to GRUB_CMDLINE_LINUX_DEFAULT section in /etc/default/grub.
And then update my boot configuration:
$ sudo grub-update
Whoa. This freezing issue seems to be specific to baytrail machines. There has been a kernel bug report filed on https://bugzilla.kernel.org/show_bug.cgi?id=109051 with a very good number of people affected! Reading the responses, it looks like Intel has been messing things up. I'm at this also pretty sure the other issues I face are specific to baytrail too.
End
This is how it had to be done on my laptop. It is very unlikely that the same exact procedure would work as it is on a different machine and for a different OS. So, it is important to understand what's going on above. I'll probably forget this stuff soon too so I just wanted to throw this in somewhere as soon as possible.
I know that 4.16.18 is a pretty old kernel but I'd still be willing for the compromise with using it than having stayed put with the Windows that came pre-installed with this machine.
TL;DR Do not a get yourself a baytrail machine if you can avoid it.